


Introduction
When it comes to improving your home’s energy efficiency, installing a solar attic fan can be a game-changer. However, deciding whether to take on this project yourself or hire a professional can be tricky. Both DIY and professional installations come with their own set of advantages and challenges. In this guide, we’ll walk you through everything you need to know to make an informed decision before you install a solar attic fan.
What is a Solar Attic Fan?
A solar attic fan installation is a sustainable solution designed to improve air circulation and regulate temperature in your attic. Powered by solar energy, these fans reduce the heat build-up that can strain your air conditioning system during hot weather, thereby lowering energy costs.
Benefits of Solar Attic Fans
- Energy Savings: Solar attic fan installation helps reduce the need for air conditioning, saving you money on your energy bill.
- Improved Air Quality: By enhancing airflow in the attic, they reduce the risk of moisture accumulation, which can lead to Mould growth.
- Environmentally Friendly: As a renewable energy solution, solar fans contribute to a greener, more sustainable home.
DIY Solar Attic Fan Installation
If you’re a handy homeowner who enjoys tackling projects yourself, a DIY solar attic fan installation could be a cost-effective option. Here’s what you need to consider before you decide to install a solar attic fan yourself.
The Pros of DIY Installation
- Cost Savings: One of the most significant advantages of DIY solar attic fan installation is avoiding professional labor costs.
- Personal Satisfaction: There’s a sense of pride in completing home improvement projects yourself.
- Control Over the Process: You get to choose the fan model and installation location that best suits your needs.
The Cons of DIY Installation
- Time-Consuming: Installation can take longer than expected, especially if you’re not familiar with the process.
- Risk of Errors: If you’re not experienced with electrical wiring and roof work, mistakes can happen, potentially leading to more expensive repairs.
- Lack of Guarantees: Unlike professional installation, DIY projects may not come with warranties or guarantees.
Steps for Installing a Solar Attic Fan Yourself
- Choose the Right Fan: Select a fan with the proper specifications based on your attic size and needs.
- Gather the Necessary Tools: You’ll need tools like a drill, screwdriver, measuring tape, and safety gear for the installation process.
- Prepare Your Attic: Ensure your attic is free of obstacles that could interfere with fan placement.
- Install the Fan: Mount the fan and connect it to your solar panel system according to the manufacturer’s instructions.
- Test the Fan: Once installed, test the fan to ensure it’s functioning correctly and providing optimal airflow.
Professional Solar Attic Fan Installation
If you’re unsure about DIY installation or prefer a hassle-free experience, hiring a professional installer may be the right choice for you. Here’s what to know about professional solar attic fan installation.
The Pros of Professional Installation
- Expertise: Professional installers have the knowledge and experience to complete the installation efficiently and correctly.
- Safety: Professionals are trained to handle electrical systems and roof installations, reducing the risk of injury.
- Warranty and Guarantees: Many professionals offer warranties on the installation, providing peace of mind.
The Cons of Professional Installation
- Cost: Professional installation typically comes with higher upfront costs compared to DIY methods.
- Less Control: You might not have as much say in the choice of the fan or installation details.
- Scheduling Delays: Depending on the company, you may need to wait for availability or face delays.
What to Expect When You Hire a Professional Installer
- Consultation: The professional will assess your attic and recommend the best solar attic fan for your needs.
- Quotation: You’ll receive a detailed estimate that outlines the cost of the installation.
- Installation: The professional will handle all aspects of the installation, from mounting the fan to connecting the solar panel.
- Testing and Adjustments: Once installed, the professional will test the fan to ensure it works optimally.
Which Option Is Right for You?
Deciding between DIY solar attic fan installation and hiring a professional depends on several factors, including your budget, skill level, and time availability. Let’s break down which option might be best for your situation.
When to Choose DIY Installation
- You’re comfortable with home improvement projects and have basic knowledge of electrical systems.
- You want to save on labor costs and don’t mind investing extra time into the project.
- Your attic has easy access, and the installation is relatively straightforward.
When to Choose Professional Installation
- You want the job done quickly and efficiently with minimal risk of errors.
- You’re not familiar with electrical systems or working at heights.
- You prefer to have a warranty and guarantee for peace of mind.
Conclusion
Both DIY and professional solar attic fan installation have their advantages and disadvantages. If you’re confident in your skills and looking to save money, DIY installation might be the right choice. However, if you’re seeking a hassle-free, reliable installation with expert help, hiring a professional installer could be the better option. No matter which you choose, a solar attic fan is a smart investment in your home’s energy efficiency.
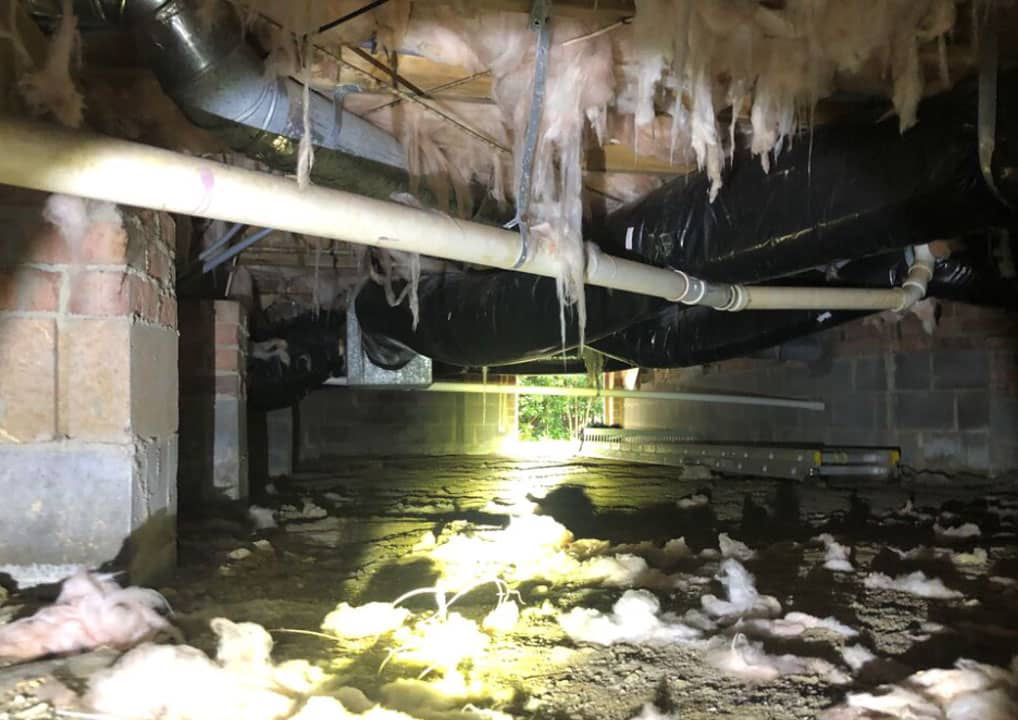 before
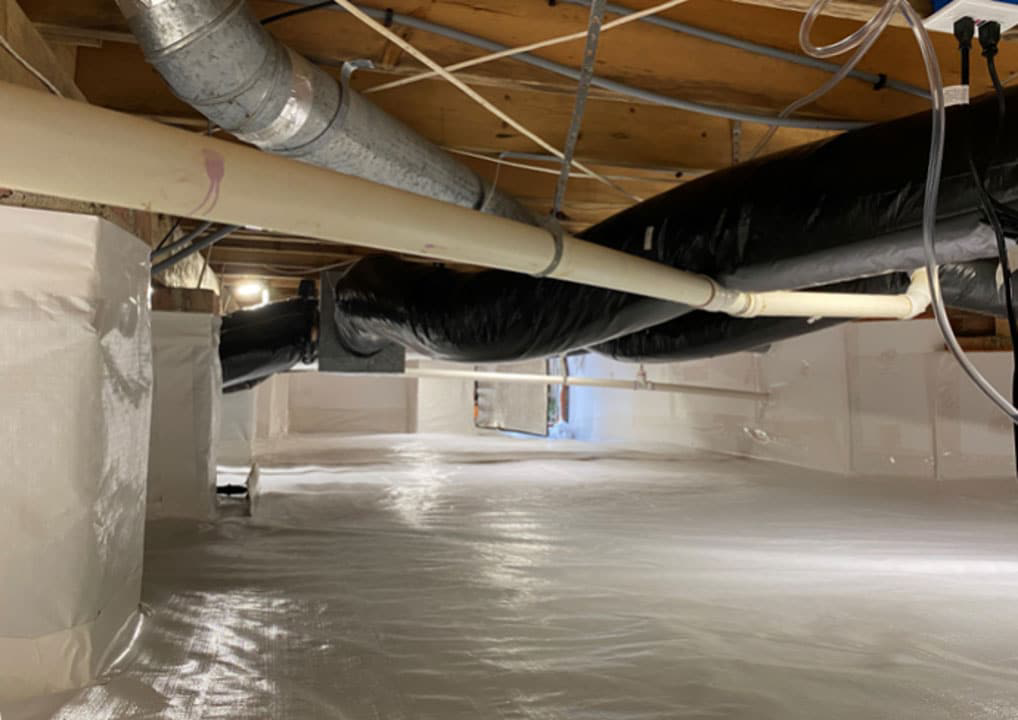 after
after